***Update: here is the entire series.
Week 1: The Vision and Before Photos
Week 2: Painting the Cabinets
Week 3: Purging, Storage and Organization Solutions in the Kitchen
Week 4: Herringbone Tile
Week 5: Evaluating Progress
Week 6: Kitchen Reveal
Welcome if you are hopping over for the One Room Challenge! This was a bit of a slow week in the makeover, but I tackled some pretty key tasks in regards to organizing the cabinets and drawers and making things more functional for everyday.
You can see the before photos vision in Week 1 and the detailed ups and downs of painting of the cabinets in Week 2 - that was a BIG change!!
At this point, I'm still waiting on the delivery of some key pieces we'll need to install like lighting, window treatments, etc., and debating on the backsplash area. We're not ready to take on a tiling project, but I'm not sure I want to just paint. Decisions, decision! Anyhow, it was a good week to tackle the functional side of things.
And look! The hardware got installed!! I'm so happy about this - it adds so much sparkle and warmth to the kitchen. Installing hardware is actually a slight fear of mine - like "fear of screwing it up and ruining the cabinets" kind of fear. Even though they make these cool installation guides, our hardware is 6.5" and 7.5" roughly and much longer than the guide. I ended up making my own "jig" from stiff cardboard and it worked beautifully! #happydance
When it comes to the storage and organization side of things in the kitchen, I think most people want to tackle it head on, get it all "perfect" and live in organized bliss. What I've found over the years is that it is truly a process. Yup. Needs change, which means the need for various kinds of storage and organization change as well. Here are a few of the items we currently use and the process I went through to better serve our family's current needs.
1. Purge Excessive Kitchen Items.
Even after downsizing from our previous home, it had been a couple years since I'd had a heart to heart on what we really needed and were actually using. When space is tight, it especially forces you to get rid of items you have multiples of.
I pulled out a few laundry baskets and began separating items into Keep, Maybe, and Purge baskets. You can use cardboard boxes or whatever else of course. I realized I had way more serving utensils than I needed (even when it came to entertaining and having extras), baking dishes, serving platters, etc. Purging was honestly such a relief! It's tedious and not so fun, but worth it in the end. When you don't feel like your cabinets are coming out at you when you open them, it creates a calm - at least for me.
2. Evaluate the Placement of Items.
It has already been a time saver and stress relief just moving items around to different areas that simply make more sense. We moved a few items down that make it easier for our kids to reach. A few examples are that everyday dishes and bowls got moved to a lower drawer instead of an upper cabinet. We also moved down a handful of drinking glasses for them to have easy access to.
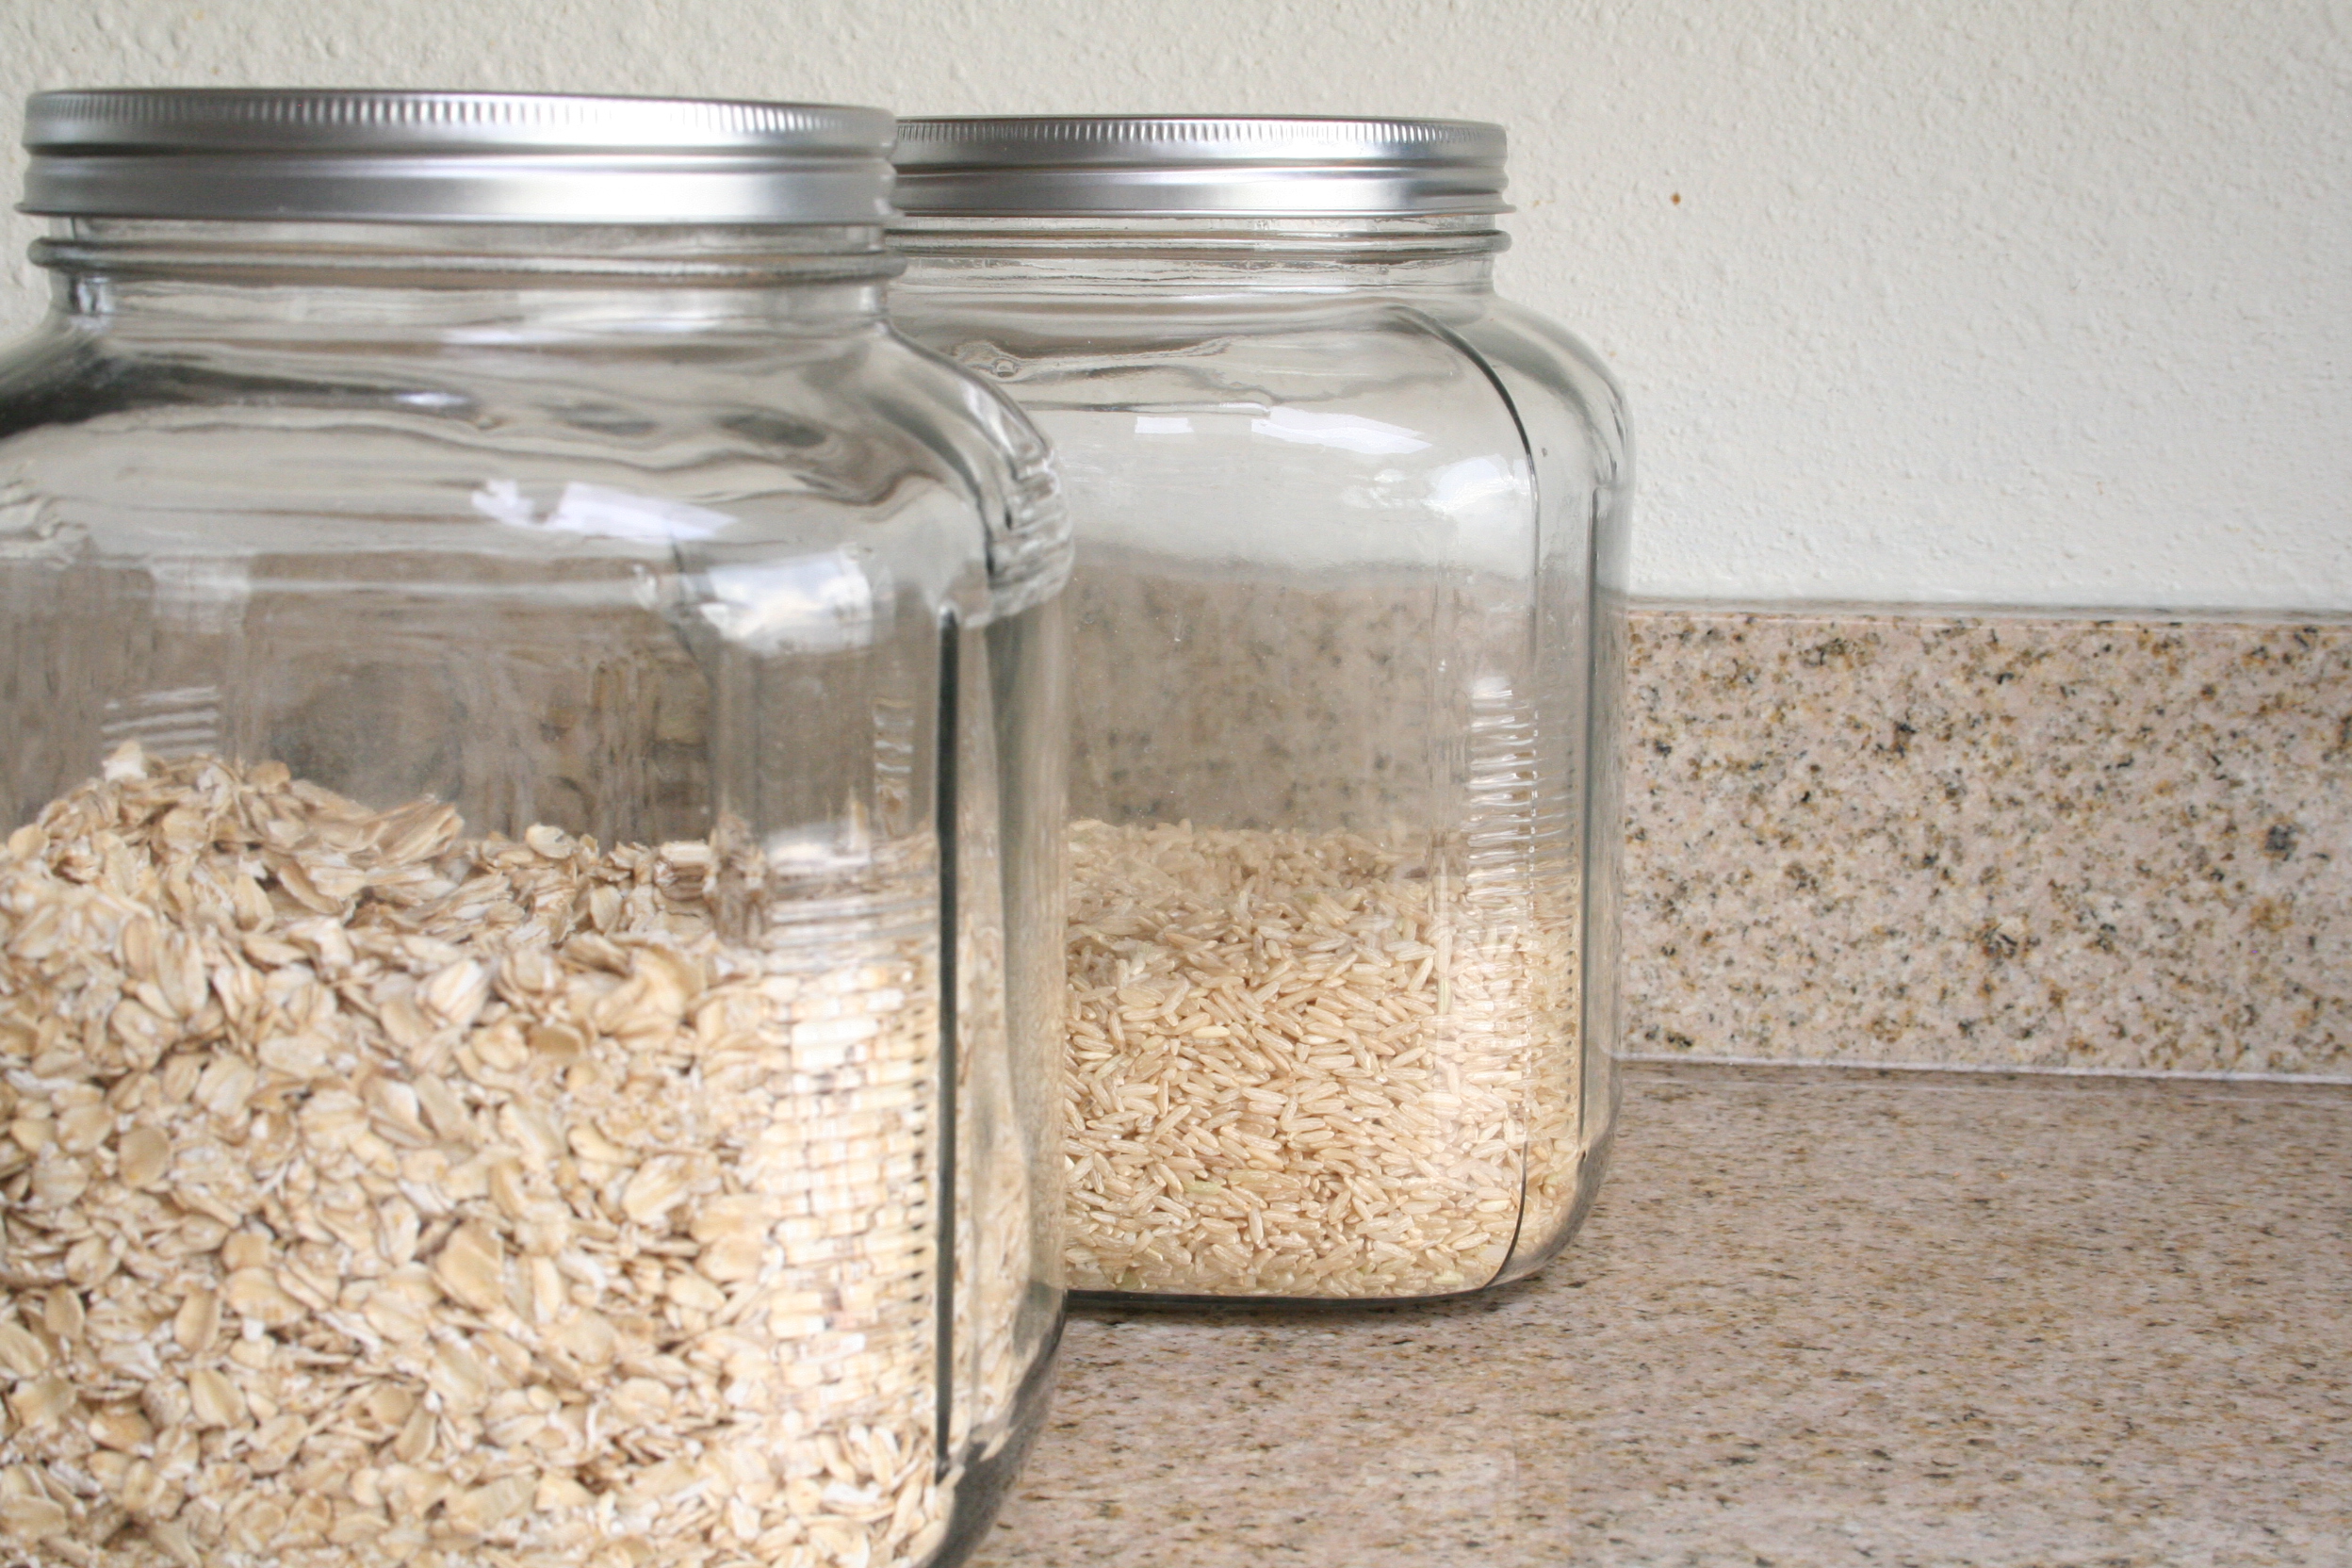
Our toaster got moved from a high upper cabinet to a lower cabinets along with our glass storage containers with oatmeal, rice, hot cocoa, etc. These got moved off of our counter space and I couldn't be happier - clear counters in a smaller home really make everything feel so much more tidy and clean! I had the room to do this, because I went through Step 1 and wasn't storing as much bakeware in this cabinet.
3. Group Like Items and Consider "Flow of Traffic".
It only makes sense to put things where there is the shortest "reach" or distance when actually using them. The coffee maker is near the faucet for water and cups, beans, etc. are all within reach. This is especially important when you have a larger kitchen. Less used items are typically higher and on the outer edges so to speak. When you don't have a pantry like us, you may have reserves stored in a cabinet with a few of each item in a closer to reach work zone.
There is a cabinet next to our dishwasher that is a bit out of the work zone and was the perfect place for party type place settings, vases, etc. The sun beats down in this area through the back window and skylights at different times of the day so anything in this area has to be able to withstand heat. I'd LOVE to put a small storage cabinet here for extra pantry storage, but this reality nixes that idea instantly.
round gold dining chargers / natural round dining chargers / white serving platter
Overall, I'm pretty happy with how things are coming together. I feel like things are looking more of our Pacific Northwest coastal loving style and we're gaining more organization, more function, and less stress. That's a win in my book! If you're looking for some storage type of containers for your kitchen, below are a few others that we have as well as some recommendations. I almost forgot to mention I love using open weave baskets like the ones below for storing potatoes and onions! As for this next week, I think we are going to tackle the desk/dining nook area, but here's a peek at the latest furniture makeover!! I can't WAIT to share more!!! >>> ***UPDATE: Makeover can be seen HERE. To get on the waitlist for the next online furniture painting class, learn more HERE!


