Coastal Collective Co.

our home

Serena & Lily 20% Off Friends and Family Event!

Coastal Interiors, sale alertAnneke McConnell

After over a week off the grid soaking up undistracted family time, we’re back into the swing of things here at our little beach house. With Fall underway, I’ve been adding some seasonal touches around the house, including some beautiful fiery orange leaves my kids picked for me from our trip in the woods. :-) They make the perfect backdrop to our blue and white beach house palette!

*this post contains affiliate links. I have partnered with Serena & Lily and have been gifted some items. All opinions and photos are my own.

I love how Serena & Lily epitomizes the belief that living well begins at home. They are experts in balancing refined luxury while remaining relaxed, casual, and inviting. When welcoming family and friends into our home, I want them to feel like they can kick back and relax. Serena & Lily helps to elevate the look of our home with quality products while allowing everyone to take a deep breath and enjoy each other’s time together. Win win!

With that said, the Serena & Lily Friends and Family sale is one I look forward to each year, where everything is 20% off from October 2nd- 14th! Some of my hands down favorites are their Sandbar Tray, Riviera Side Chair, Cavallo Linen Bedding, and their gorgeous pillows!

Fall Decor in Blue and White Beach House
Seagrass Tray

Round Sandbar Tray

(also available in square or large rectangle - I LOVE THIS TRAY!!!!)

Beach House Kitchen Nook with Freestanding Pantry
IMG_5051.JPG
Beach House Stone Fireplace and Pillows in Basket
Beach House Patio Fall Decor

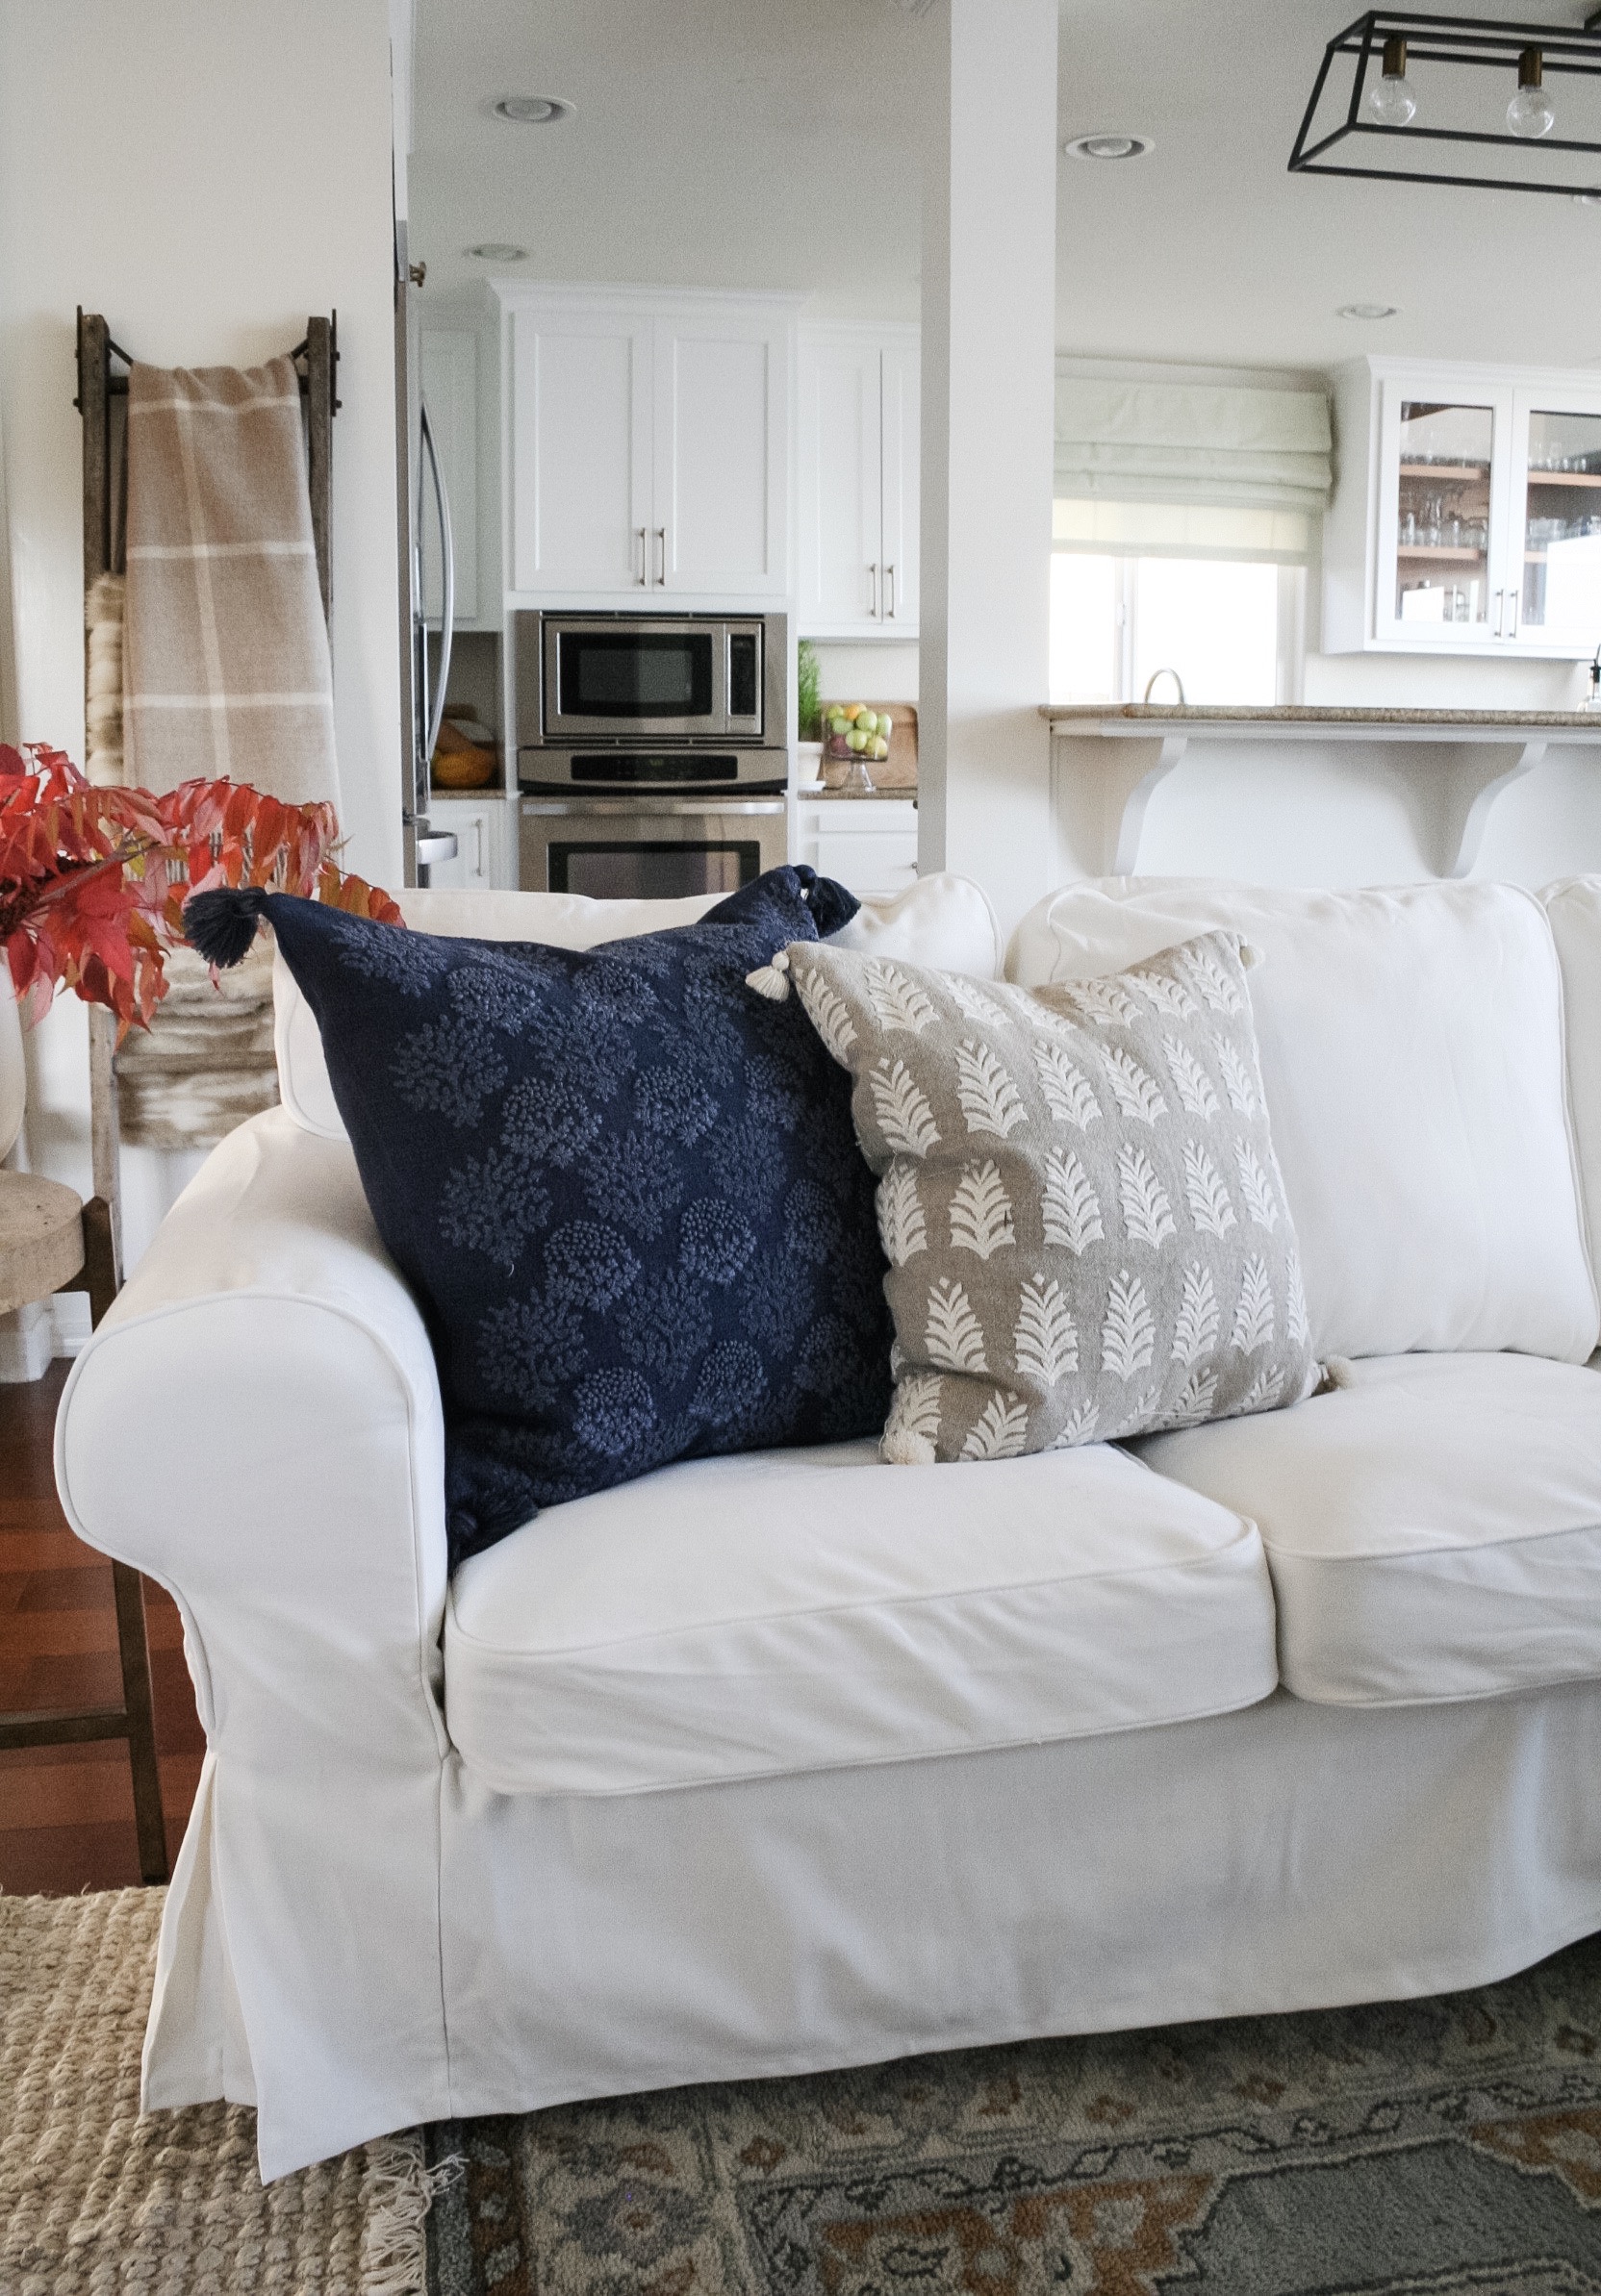
Serena & Lily Pillows and Throw Blanket

(in above photos)

You guys….let me tell you a little story. When we downsized from our larger custom home to this much smaller beach house, the pillows in the living area became one of those stressful home decor items for me that I honestly wanted to do away with. I know… the thought!! lol :-)

Somehow, the smaller space meant even just three pillows “out of place” (remember we have three kids plus their friends), was enough to make the room feel messy. But I love pillows!!

I decided then and there to be much more particular about the pillows we bring into our home, and choosing the ”Less, but Better Quality” route has made all the difference! EVERY insert and pillow cover we have from Serena & Lily is exceptional, and we’ve been extremely pleased with each and every one of them (and every product of theirs!).

If you’re looking to refresh your home for the upcoming Holiday Season or just in general, Serena & Lily’s Friends and Family sale is the perfect opportunity! Don’t tell, but I have some of their items on my shopping list for gifts!



Casual Dining Stools

1 / 2 / 3 / 4 / 5 / 6 / 7 / 8 / 9 / 10 / 11 / 12


From the Beach,

Anneke


Follow along on Instagram:

@coastalinteriors

@annekemcconnell

Beach House Dining Room Progress

Coastal Interiors, Dining Room, Home Blog Posts, Home Decor, Interiors, Our Beach House, Our HomeAnneke McConnell

*disclaimer: this post contains affiliate links and all opinions are my own.

You guys have requested to see more of the process of updating the rooms of our beach house, and after a recent poll on Instagram, the majority of you voted for an update of our dining nook first.  

I have to say I'm pretty happy with the progress so far! The lighting arrived yesterday and the new rug should be here any minute.  I'd be lying if I said I wasn't excited for today's deliveries!

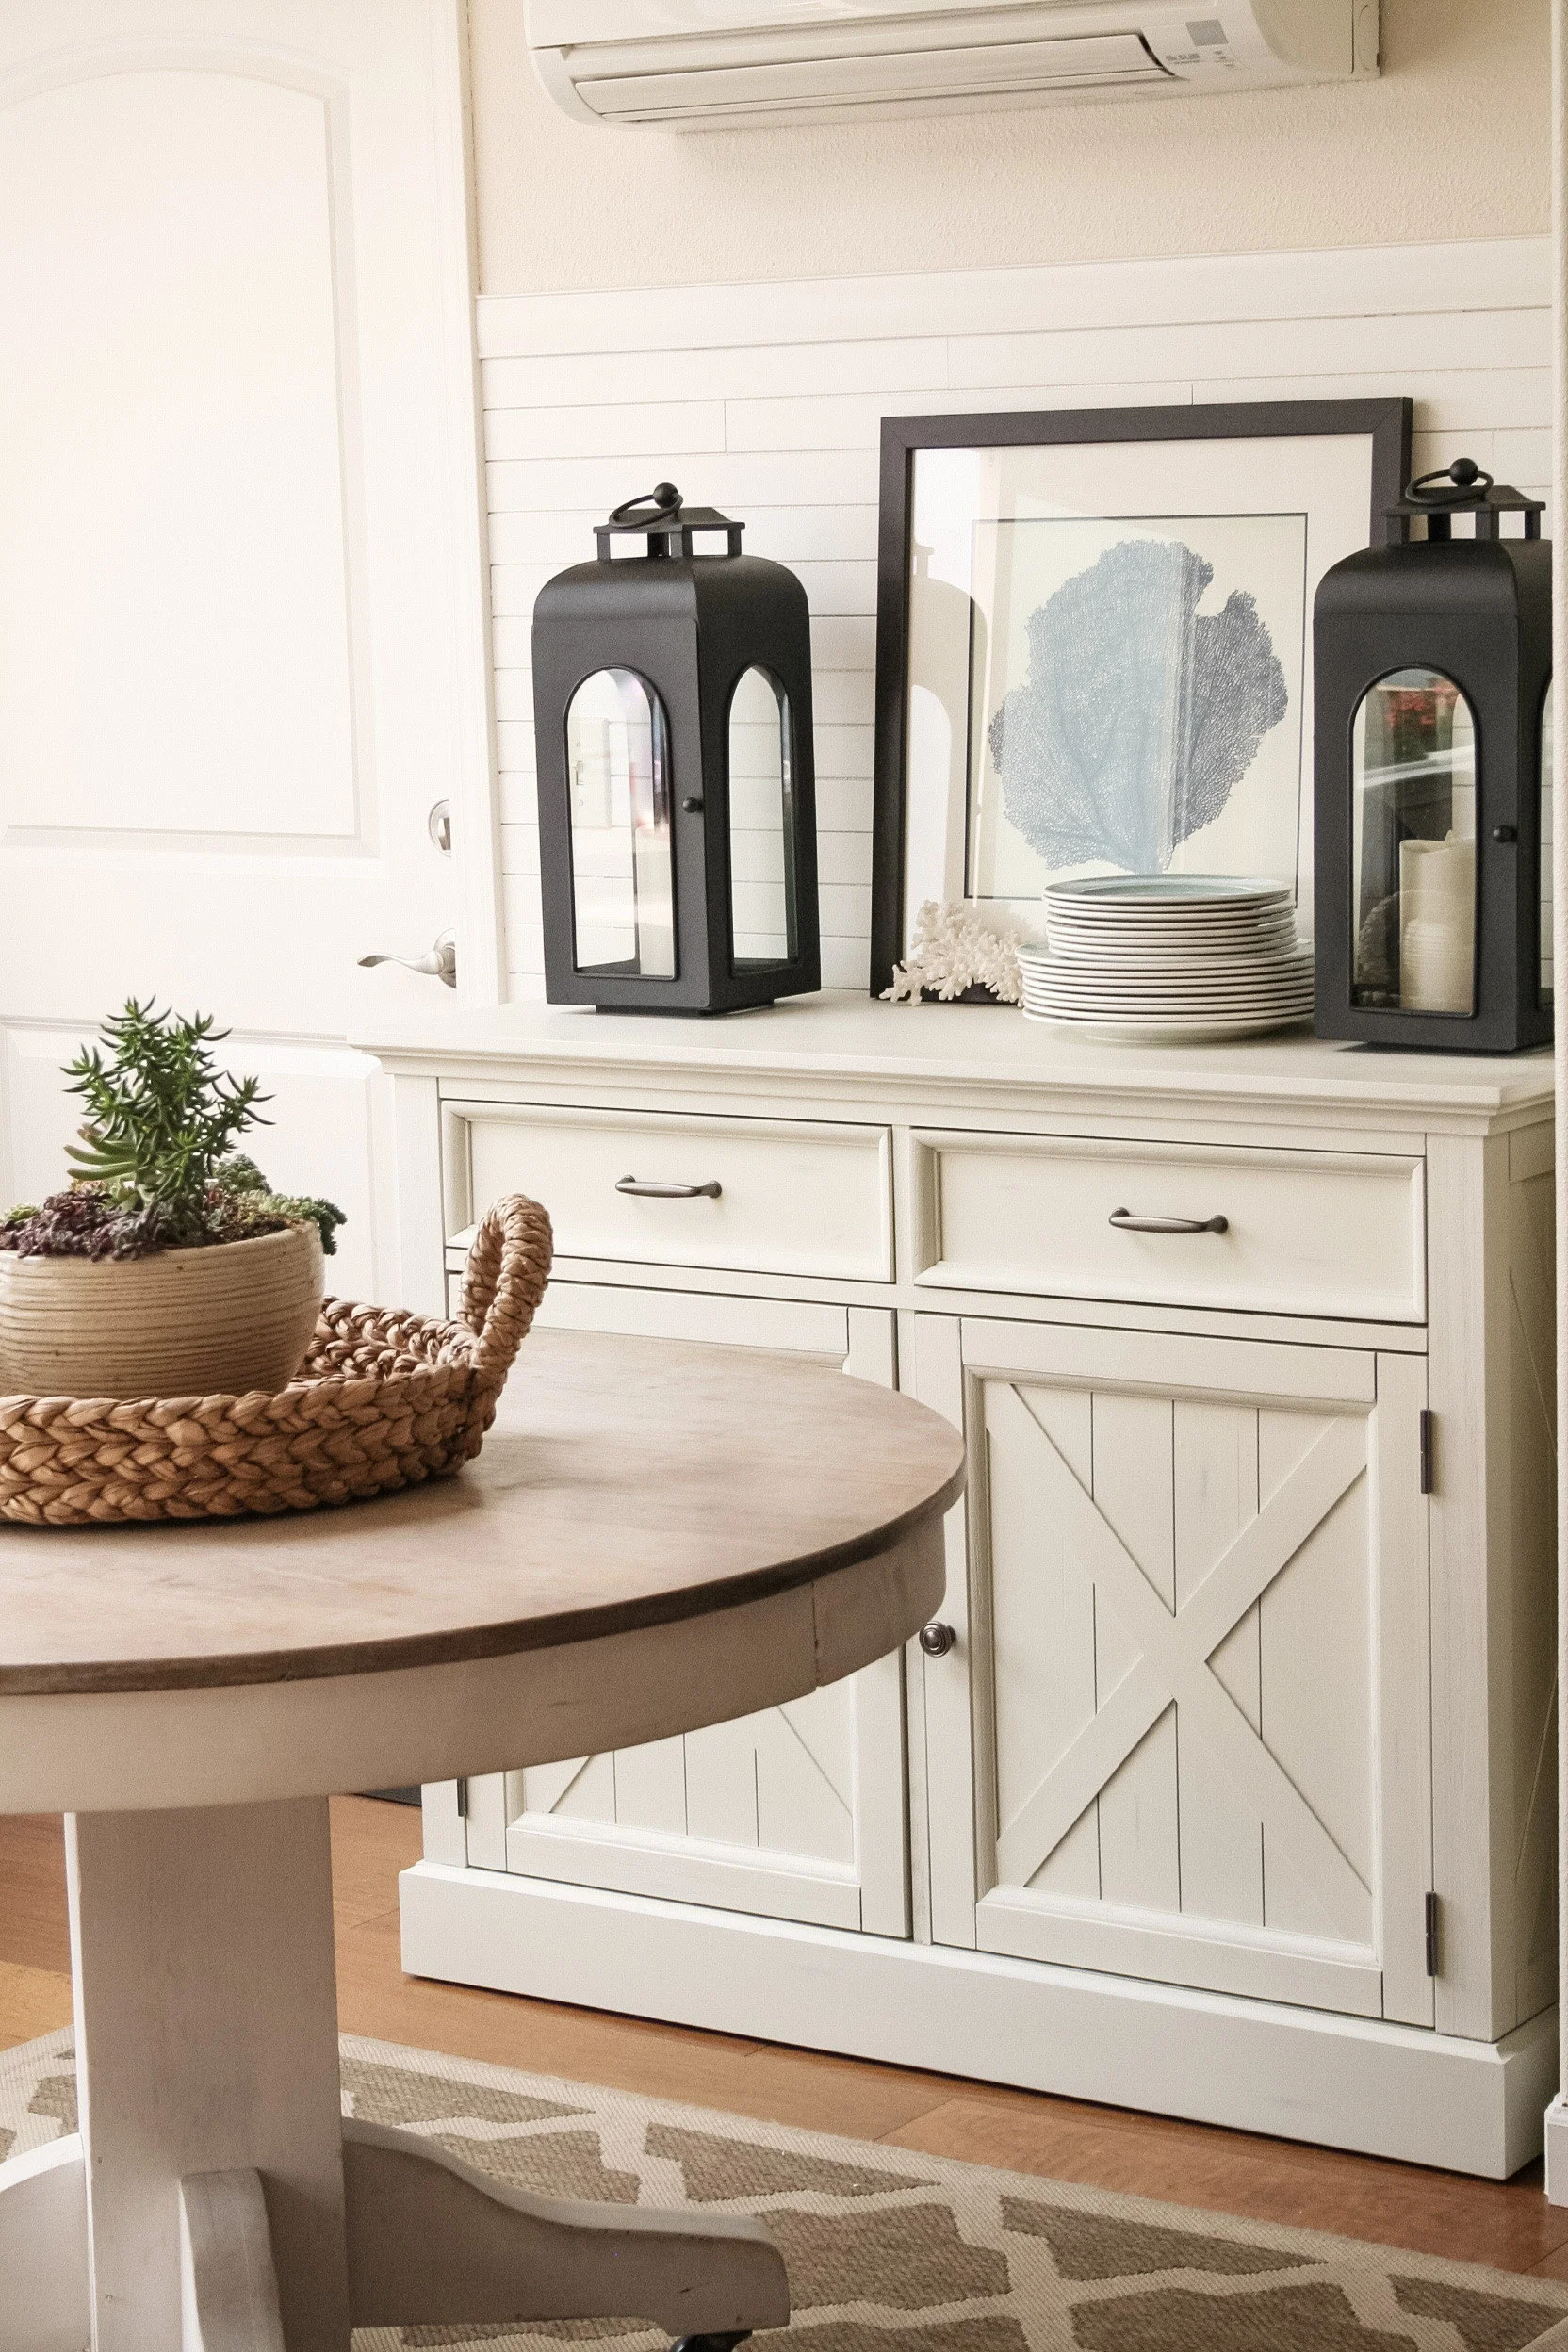
The most recent addition was this white buffet cabinet (also here) and it is even BETTER in person than I though it would be! I was a little concerned at first with the white on white and all of the lines, but it works beautifully. Since the space is both small AND open, adding new white curtains, painting the door white, and adding the white buffet has created a really cohesive look, making the room feel bigger and brighter.

Our beach house is relatively small at about 1900 sq. ft. and when you walk into the house you basically have an entryway, a small living and dining space, and the kitchen and nook by the window on the water side.  Minus a laundry room/bathroom and lower guest bedroom and bath, that's the entire lower floor.

Here is a BEFORE PHOTO of the home when we had it listed as a vacation rental. It's changed SO much since then, in particular, when I painted the cabinets a glossy bright white and added hardware.

Coastal Home Makeover

Here's where we are now!

1. The table is a thrifted piece I painted and refinished.  I did a tutorial on it awhile back about how to whitewash furniture.  Since then, I've painted the base with white chalk style paint.

2. The gray tufted settee sits in front of the window with the water view. Even though that door leads to our garage (aka major foot traffic), and the placement of the settee isn't ideal, it's a favorite spot for everyone in our house at different times of the day and gets used a lot.....and I mean A LOT!

3. I updated that small wall to the right of the garage door with horizontal planks from, believe it or not, repurposed wood blinds.  What can I say? I had an impulsive idea (not uncommon), and went for it! We had some previous wood blinds just laying around, so I cut them to various lengths and installed them with a brad nailer. Then I filled the holes and painted them Benjamin Moore's Simply White in Semi-Gloss. That's the same color as our kitchen cabinets, doors, and trim through our house.

My last post about Coastal Dining Chairs was because one of our last steps (after installing the chandelier and rug) is to choose our dining chairs. There are 5 of us in our family, the foot traffic from the garage, the settee, and to the right of it all is our living room. Needless to say, there's not a lot of space and I don't want it to look cluttered, so comfy, discreet, and low profile is essential. I'm still debating what to go with so any insight from you guys is welcome and very much appreciated!!

And yes, that is a Mitsubishi Electric ductless mini-split system and we LOVE it!  Should I do a blog post on it? We've had ours for over 5 years so I can attest to long-term satisfaction!


SHOP THIS POST


From the beach!

Anneke


Follow along on Facebook

Follow along on Instagram (lifestyle)

Follow along on Instagram (interiors)

Follow along on Instagram (diypaintedfurniture)


PLACES I SHOP AND RECOMMEND:

Serena & Lily

Wayfair

Pottery Barn

Nordstrom

RugsUSA

One Kings Lane

ASOS

Revolve

DSW

......just to name a few!


Disclosure: This website participates in affiliate programs. We are a participant in the Amazon Services LLC Associates Program, an affiliate advertising program designed to provide a means for us to earn fees by linking to Amazon.com and affiliated sites.

One Room Challenge: Storage and Organization in the Kitchen

Home Blog Posts, Interiors, KitchenAnneke McConnell

Welcome if you are hopping over for the One Room Challenge This was a bit of a slow week in the makeover, but I tackled some pretty key tasks in regards to organizing the cabinets and drawers and making things more functional for everyday. 

You can see the before photos vision in Week 1 and the detailed ups and downs of painting of the cabinets in Week 2 - that was a BIG change!!

At this point, I'm still waiting on the delivery of some key pieces we'll need to install like lighting, window treatments, etc., and debating on the backsplash area.  We're not ready to take on a tiling project, but I'm not sure I want to just paint. Decisions, decision!  Anyhow, it was a good week to tackle the functional side of things.

And look! The hardware got installed!! I'm so happy about this - it adds so much sparkle and warmth to the kitchen.  Installing hardware is actually a slight fear of mine - like "fear of screwing it up and ruining the cabinets" kind of fear.  Even though they make these cool installation guides, our hardware is 6.5" and 7.5" roughly and much longer than the guide.  I ended up making my own "jig" from stiff cardboard and it worked beautifully! #happydance

IMG_0880.JPG

When it comes to the storage and organization side of things in the kitchen, I think most people want to tackle it head on, get it all "perfect" and live in organized bliss.  What I've found over the years is that it is truly a process.  Yup.  Needs change, which means the need for various kinds of storage and organization change as well.  Here are a few of the items we currently use and the process I went through to better serve our family's current needs.


1.  Purge Excessive Kitchen Items.

Even after downsizing from our previous home, it had been a couple years since I'd had a heart to heart on what we really needed and were actually using.  When space is tight, it especially forces you to get rid of items you have multiples of.

I pulled out a few laundry baskets and began separating items into Keep, Maybe, and Purge baskets.  You can use cardboard boxes or whatever else of course.  I realized I had way more serving utensils than I needed (even when it came to entertaining and having extras), baking dishes, serving platters, etc.  Purging was honestly such a relief!  It's tedious and not so fun, but worth it in the end.  When you don't feel like your cabinets are coming out at you when you open them, it creates a calm - at least for me.  


2. Evaluate the Placement of Items.

It has already been a time saver and stress relief just moving items around to different areas that simply make more sense.  We moved a few items down that make it easier for our kids to reach.  A few examples are that everyday dishes and bowls got moved to a lower drawer instead of an upper cabinet.  We also moved down a handful of drinking glasses for them to have easy access to.

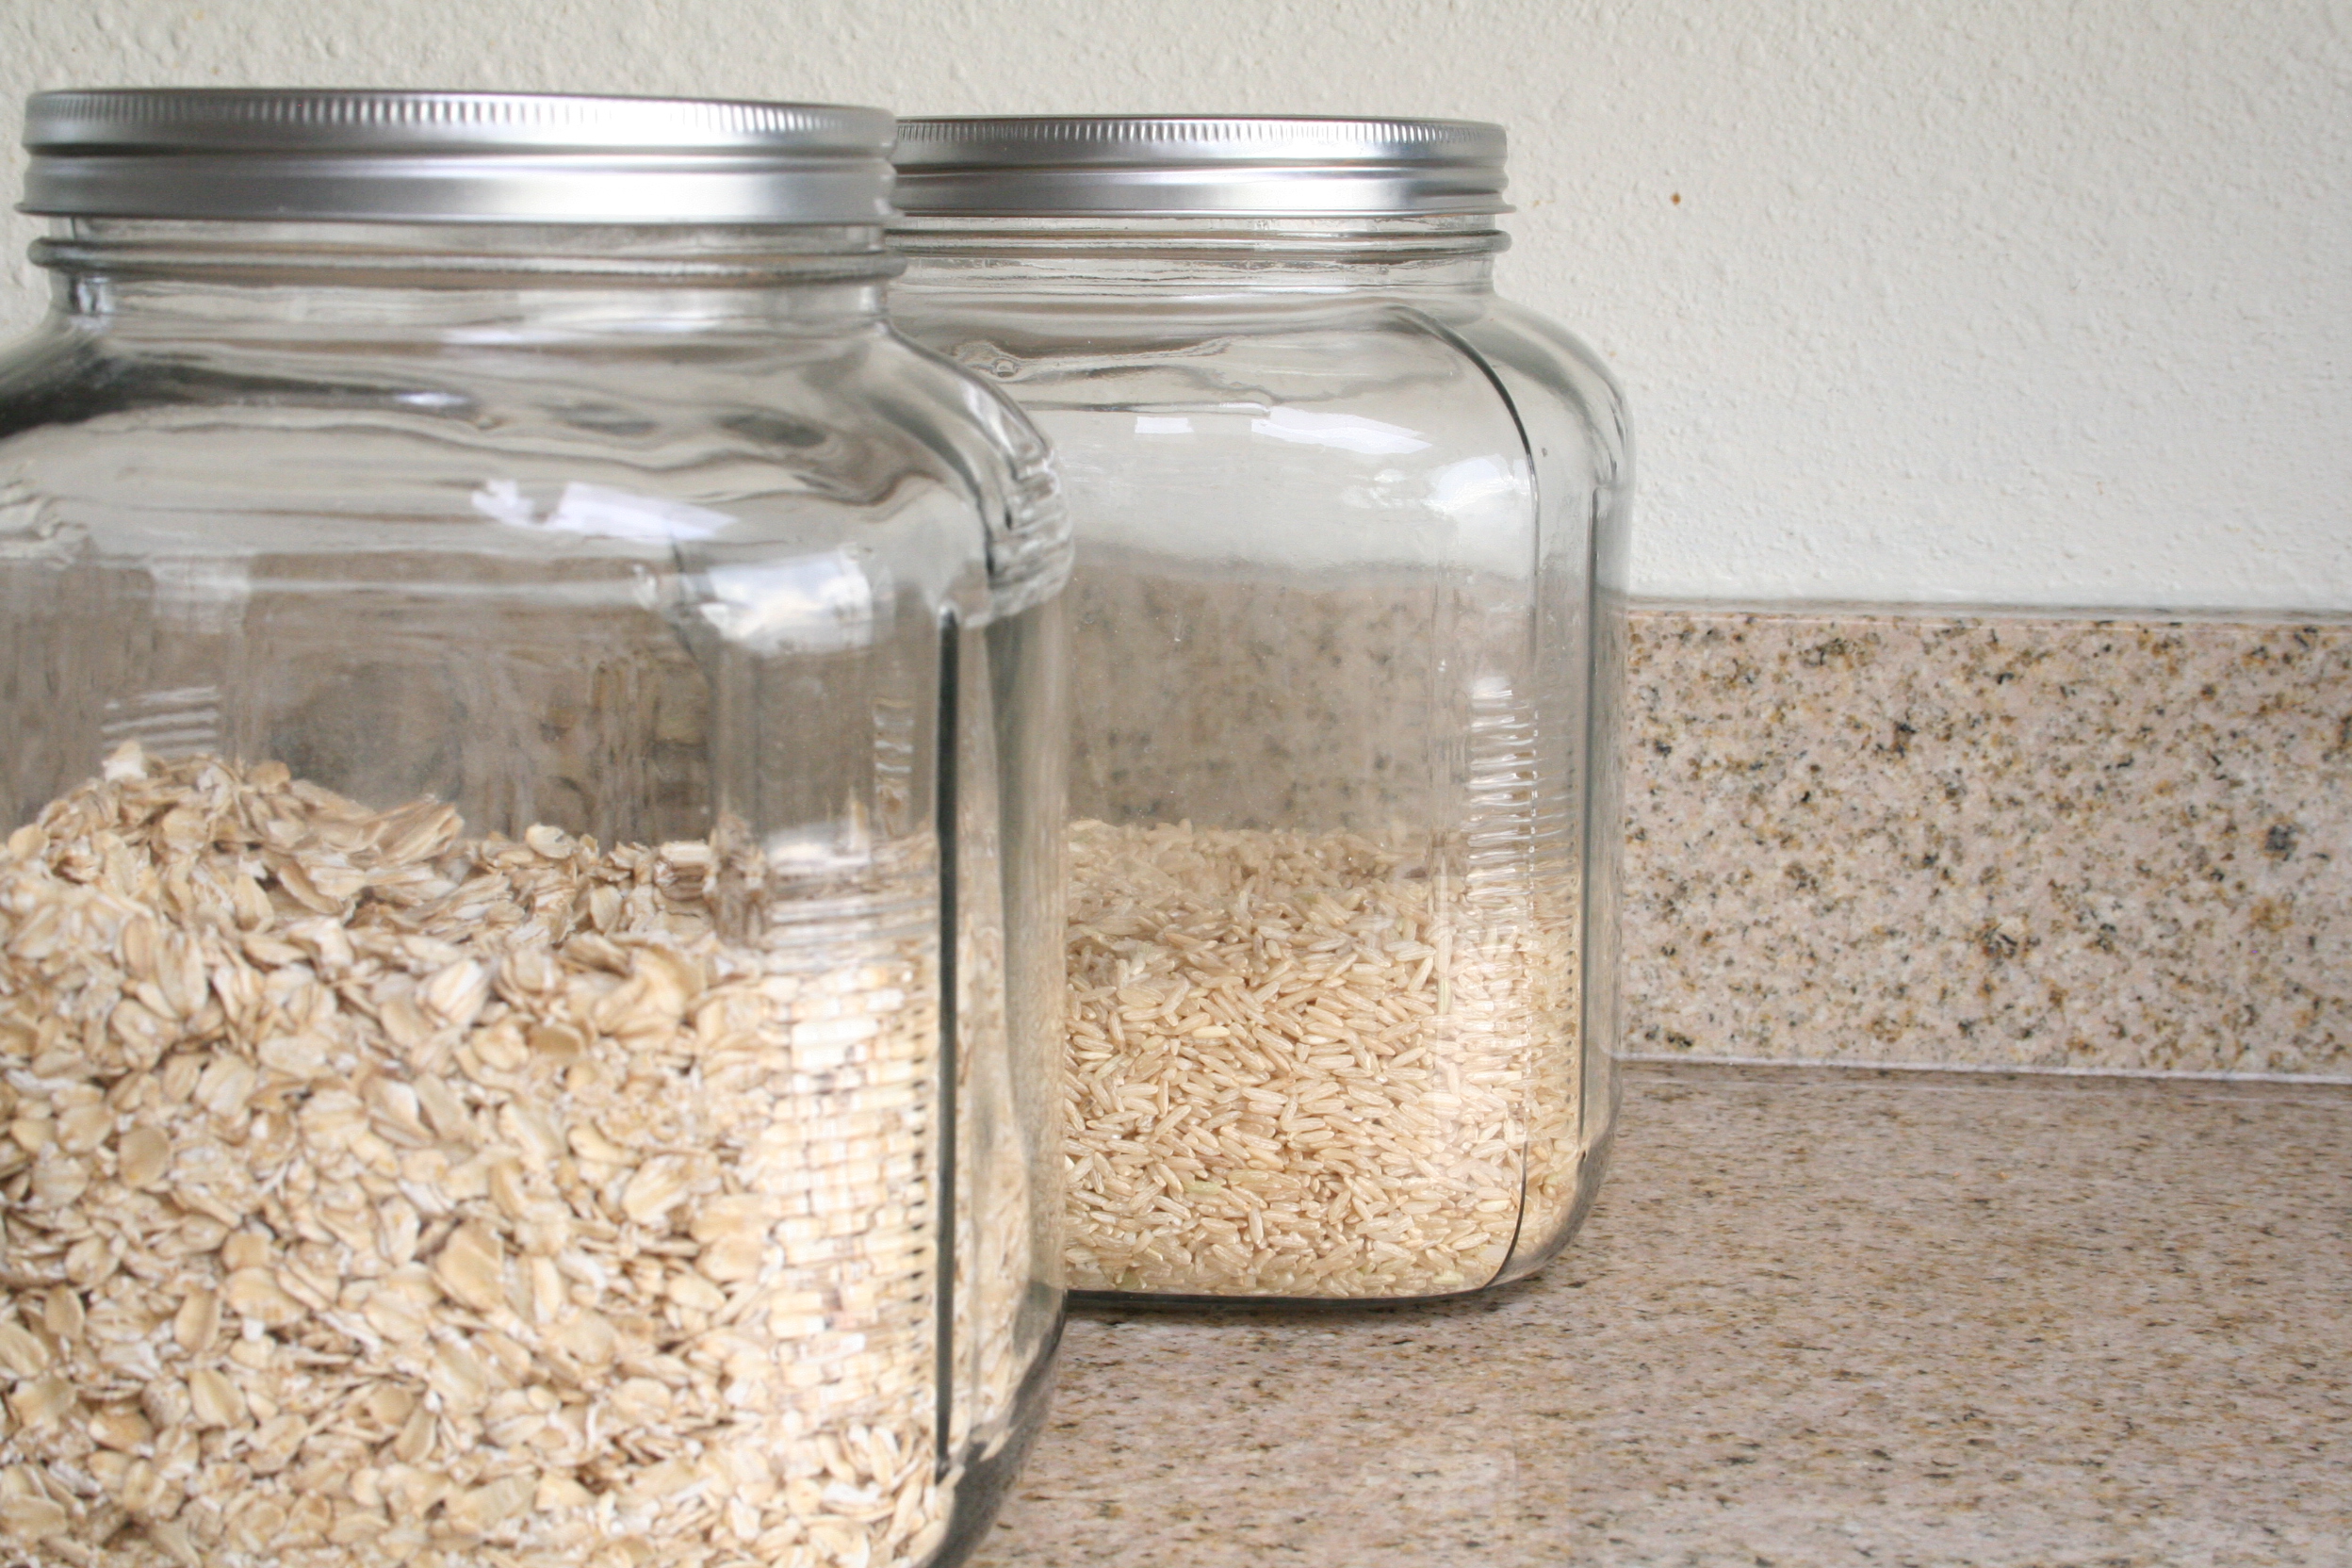
 Our toaster got moved from a high upper cabinet to a lower cabinets along with our glass storage containers with oatmeal, rice, hot cocoa, etc. These got moved off of our counter space and I couldn't be happier - clear counters in a smaller home really make everything feel so much more tidy and clean!  I had the room to do this, because I went through Step 1 and wasn't storing as much bakeware in this cabinet.

IMG_0871.JPG

3. Group Like Items and Consider "Flow of Traffic".

It only makes sense to put things where there is the shortest "reach" or distance when actually using them.  The coffee maker is near the faucet for water and cups, beans, etc. are all within reach.  This is especially important when you have a larger kitchen.  Less used items are typically higher and on the outer edges so to speak.  When you don't have a pantry like us, you may have reserves stored in a cabinet with a few of each item in a closer to reach work zone.

There is a cabinet next to our dishwasher that is a bit out of the work zone and was the perfect place for party type place settings, vases, etc.  The sun beats down in this area through the back window and skylights at different times of the day so anything in this area has to be able to withstand heat.  I'd LOVE to put a small storage cabinet here for extra pantry storage, but this reality nixes that idea instantly. 

round gold dining chargers / natural round dining chargers / white serving platter


Overall, I'm pretty happy with how things are coming together.  I feel like things are looking more of our Pacific Northwest coastal loving style and we're gaining more organization, more function, and less stress.  That's a win in my book!  If you're looking for some storage type of containers for your kitchen, below are a few others that we have as well as some recommendations.  I almost forgot to mention I love using open weave baskets like the ones below for storing potatoes and onions!  As for this next week, I think we are going to tackle the desk/dining nook area, but here's a peek at the latest furniture makeover!! I can't WAIT to share more!!! >>> ***UPDATE: Makeover can be seen HERE. To get on the waitlist for the next online furniture painting class, learn more HERE!


xo,

Anneke


Follow along on instagram at:

@coastalcollectiveco

@coastalcollectivestyle

@coastalinteriors

Follow along on Facebook

Want to learn how to refinish your own furniture? Click HERE.