Coastal Collective Co.

kitchen

Polished Nickel Kitchen Faucets

KitchenAnneke McConnell

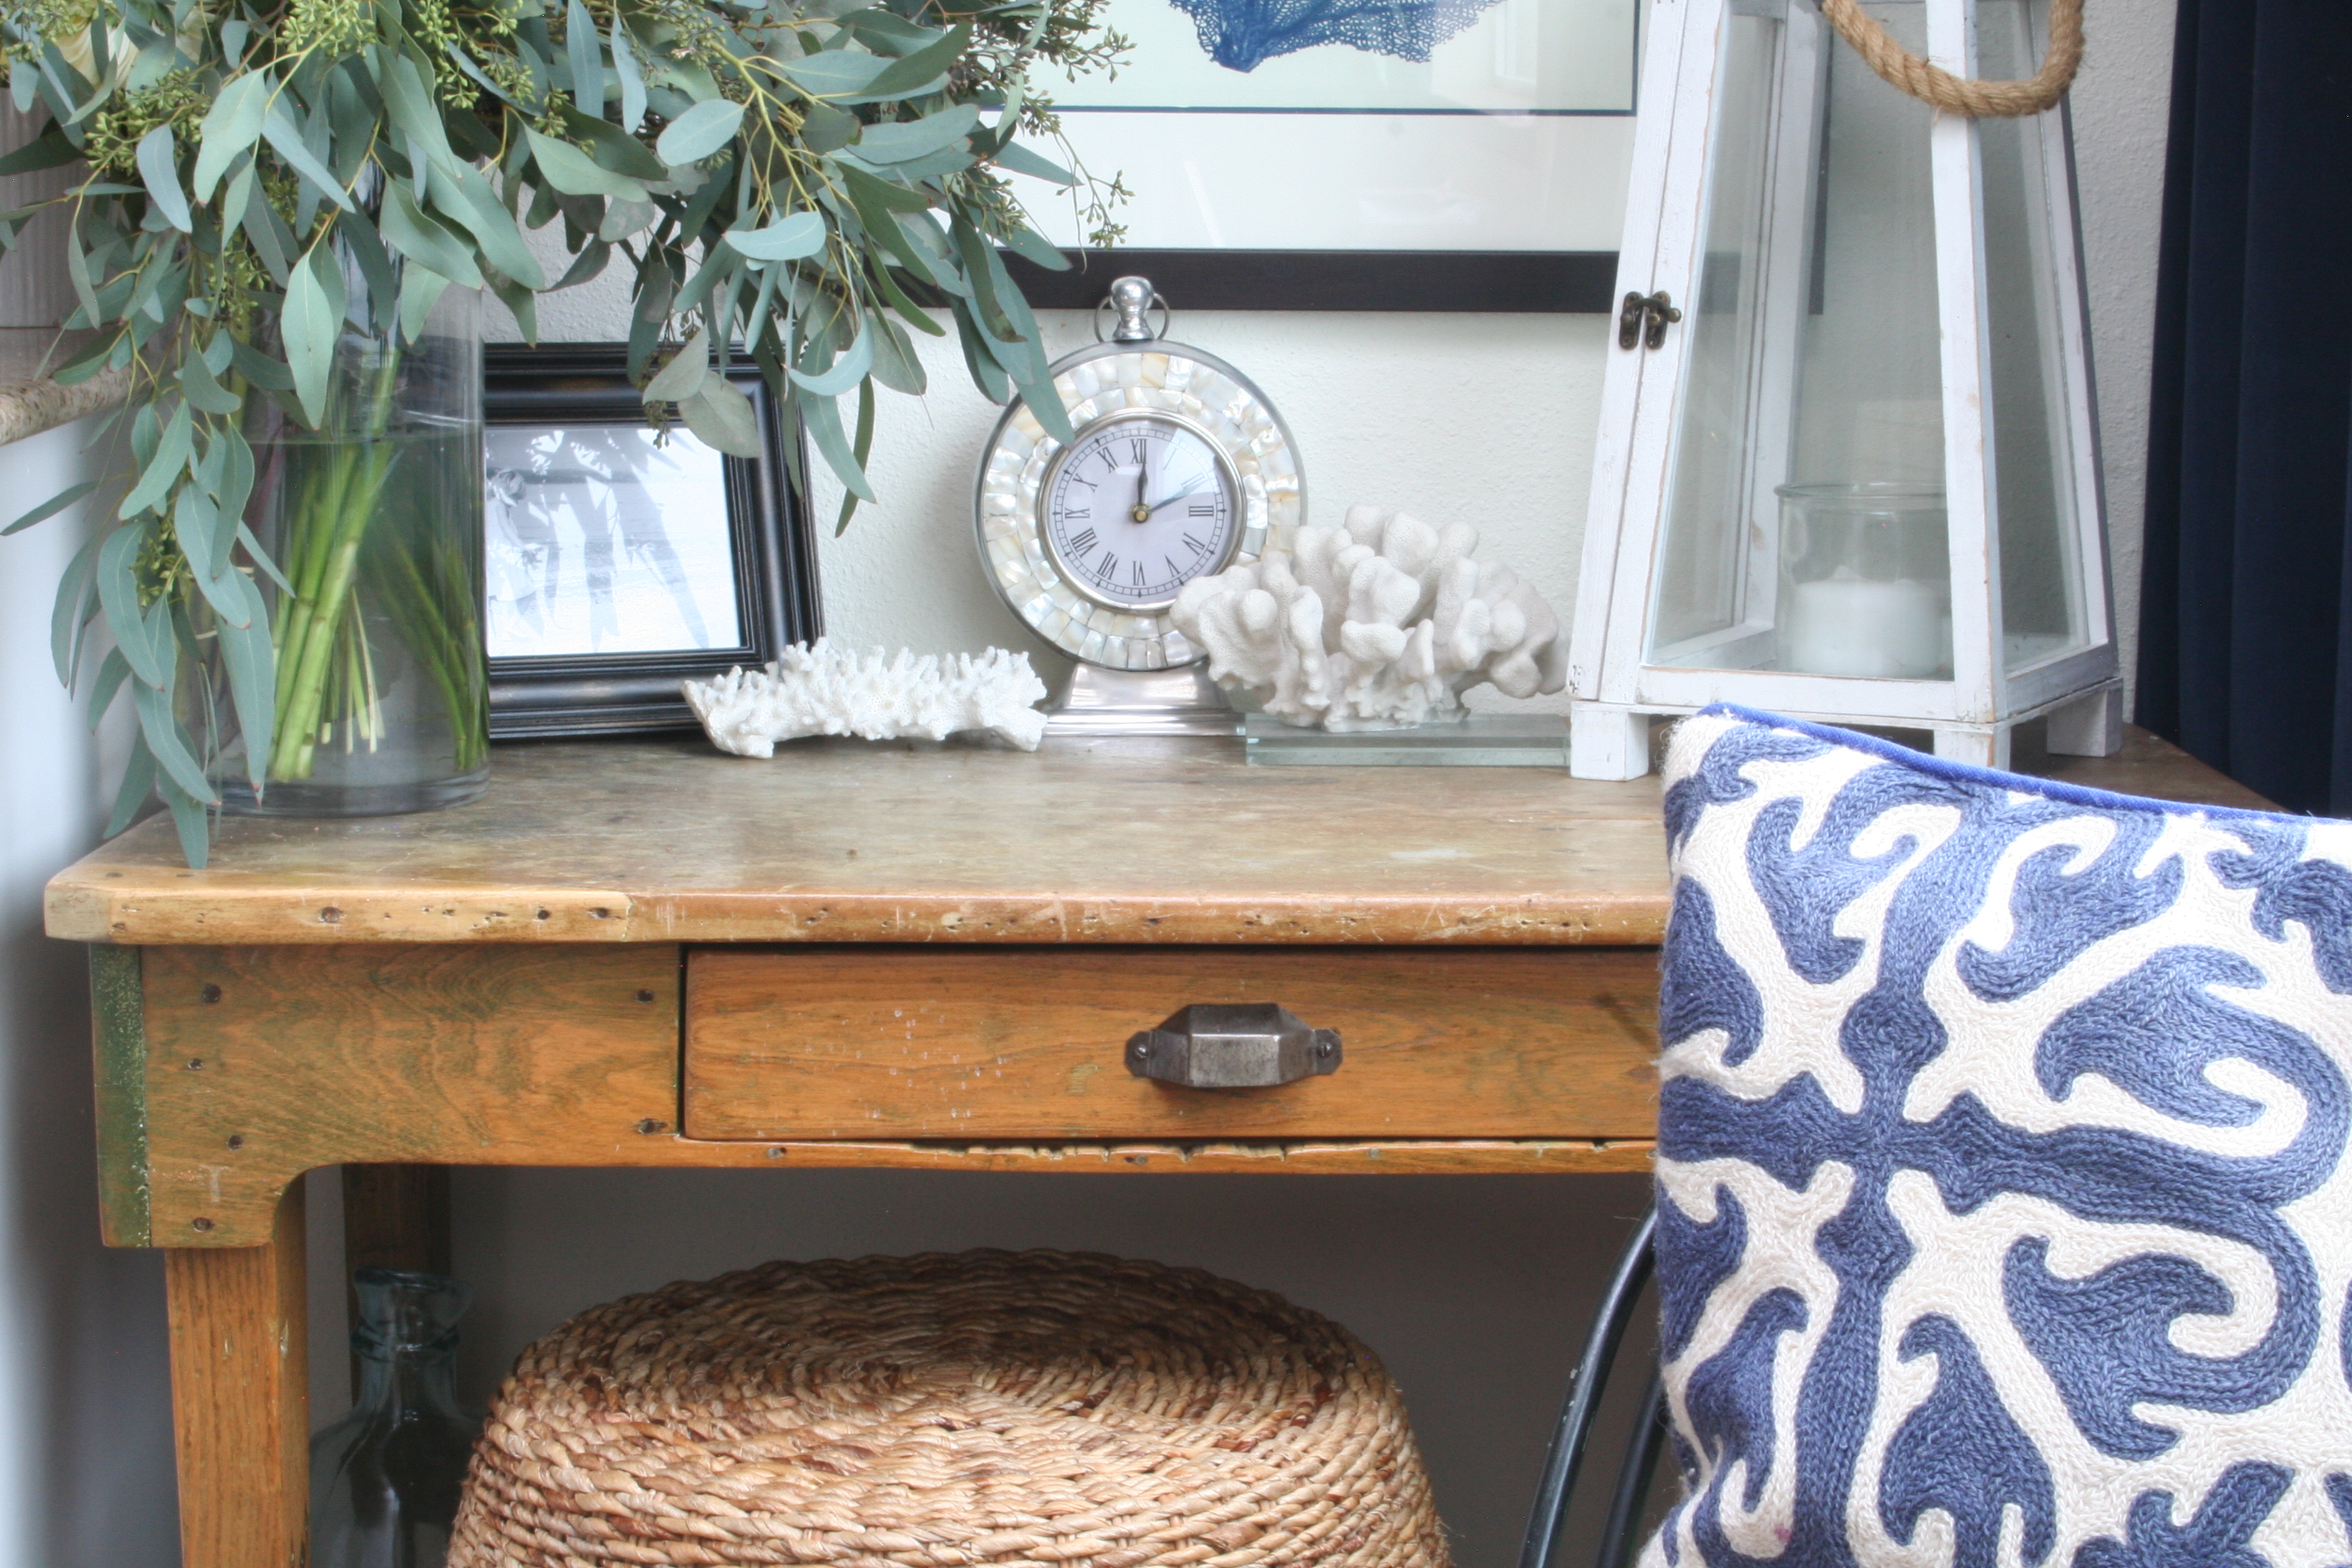
As we continue to select materials and finishes for our beach house renovation, I’ve been more drawn to the sparkle of a polished nickel and how it beautifully reflects light. It’s a major contender for our beach house, especially in the kitchen!


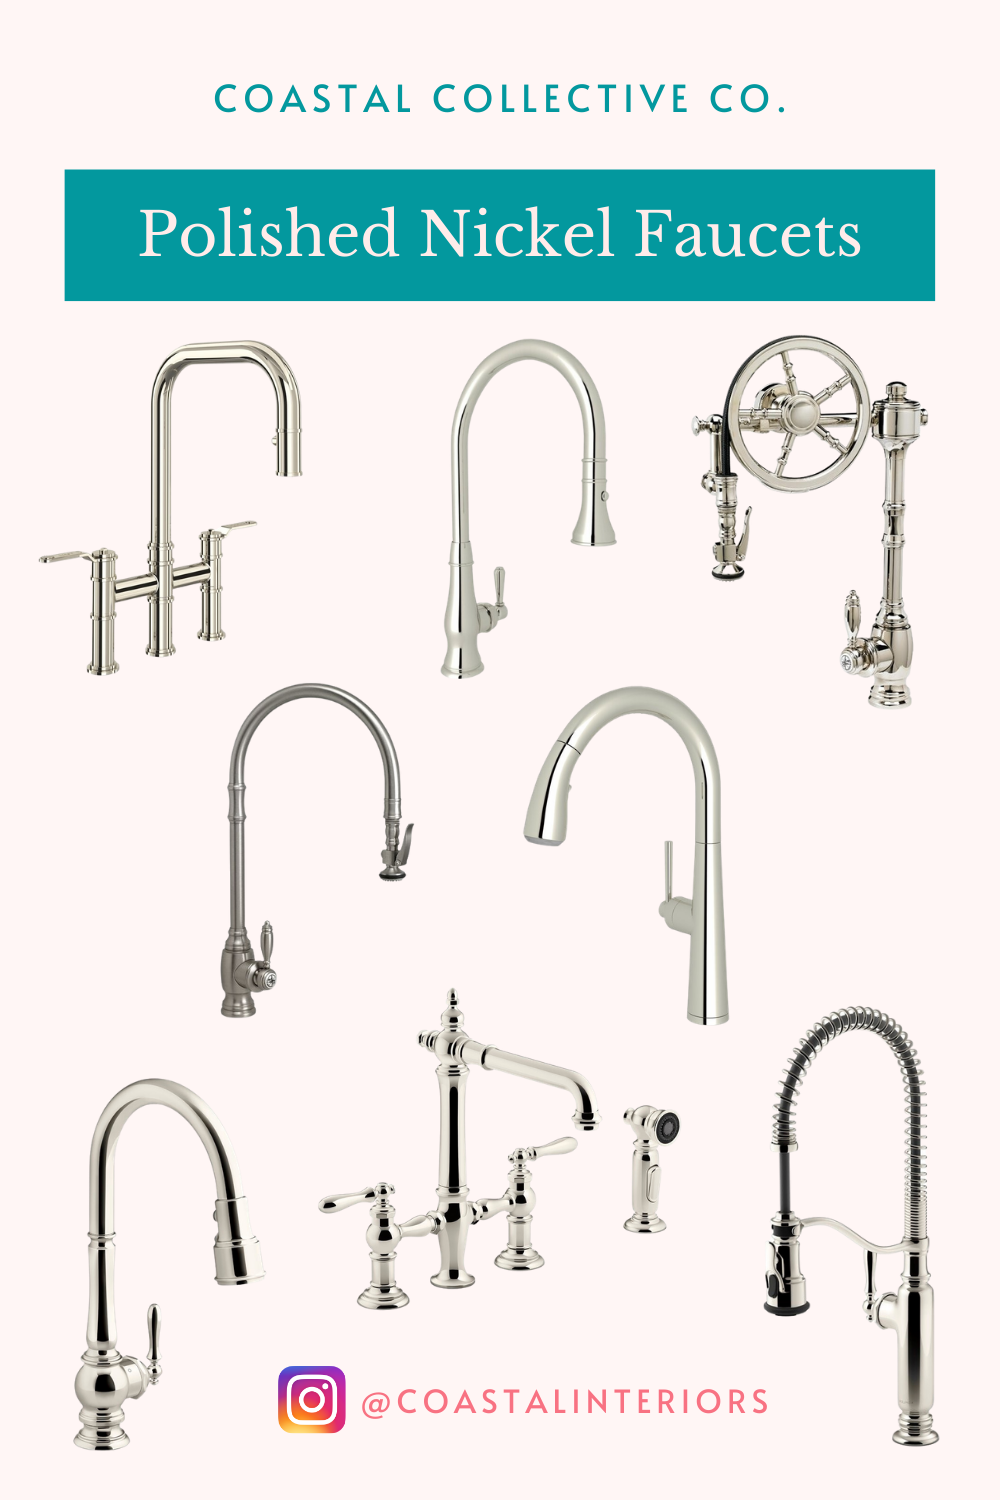
There is such a large variety of faucet options today, from pull down sprayers to bridge faucets, as well as touchless or even a voice activated faucet. With extended family that has severe allergies as well as the day to day needs of food prep, kids making the best kind of messes while baking treats, etc., I can attest that the touchless faucets are WORTH THE HYPE and make life so much easier. It has me convinced that a touchless garbage and recycle can pullout is just as essential! What do you think?


Whether you’re looking for a more sleek and functional style faucet or a major statement piece like the wheel faucet by Waterstone, I’ve rounded up a small handful of kitchen faucets below as contenders for our beach house renovation. Shown here are polished nickel or stainless steel, but most of them are also available in multiple finishes options such as antique brass, champagne brass, satin nickel, bronze, matte black, stainless black, etc.

From the Beach,

Anneke

Follow along on Instagram

Coastal Kitchen Update: The Island Light

Coastal Interiors, Home Blog Posts, Interiors, KitchenAnneke McConnell

Last fall I decided to tackle the finishing up of our coastal kitchen makeover after a semi-grueling painting of the cabinets in the summer.  That's slightly dramatic, but if you're considering painting your cabinets yourself, yes, you'll definitely want to read through and learn from our experience


Here is a recap of each week:

Week 1: The Vision and Before Photos

Week 2: Painting the Cabinets

Week 3: Purging, Storage and Organization Solutions in the Kitchen

Week 4: Herringbone Tile

Week 5: Evaluating Progress

Week 6: Kitchen Reveal


Today's post is all about the selection of lighting for our island.  This is not a sponsored post, but I am fortunate to have been able to work alongside Lamps Plus who provided the light for our makeover.

Even as someone who LOVES design and decorating, I was running into some challenges (which I share more about in a bit) and the people at Lamps Plus were very kind and helpful in making a decision. Just sayin'! #greatcustomerservice

Here is the island light we ended up with!

So here just some design parameters we were working with when we were trying to find the "perfect" light.

  1. We wanted to have as many bulbs as possible. We went from 4-5.
  2. We wanted the light to be visually light so as not to block our view of the water, but also make a statement. This is super tricky in such a small space!
  3. The ceiling height of only 7.5' combined with the standard bar height on the island made the dimensions we had to work with very limited.  We needed something long and skinny, that remained as close to the ceiling as possible. Some island lights were visually perfect, but the way they mounted were not feasible so that's something to consider!
  4. Also, we did not want to rewire anything and stick with the single hole mount that was already there.
  5. Of course, we wanted a light that fit our beach house style, was easy to clean, and blended in nicely with the other textures and finishes. Our entry, living, dining, nook and kitchen are all one space!
  6. I love, love, LOVE how the light we chose has two metal finishes! The main metal portion is a dark bronze and the light socket is an antique bronze that ties in REALLY well with our hardware.


See it up close.  It really is the perfect fit!

Here you can see a better view of how the mount fits well with what we already had in place. 

The light comes with extension rods, but we just don't have the vertical space for that.    Extension rods are a great thing when you have taller ceilings and want a light with a straight clean line versus a cord.


You can see how it would look here installed with the rods.  I love knowing that it is an option to add them if we moved or did a major renovation.


So here you can see the progression of lighting.

Before Painting: a simple bronze 4-light

After painting: we switched out the bronze for this simple silver 4-light when the bronze one had led lights that were an absolute PAIN.  We were also waiting on our new Roman Shades, which we now LOVE.  The shade below is actually a curtain panel I just tacked up for photos. That's blogger TRUTH right there! We currently use these curtains in our home office and master bedroom.

So there you have it!

Thanks again to Lamps Plus for a great experience working with them.  I've purchase their lighting over the years and truly love the variety of options they offer!  They have some great videos on Facebook to help show you how to bring all design elements together.  Video makes all the difference for me, so I really appreciate when brands make things easier and make videos to help us all out.

xo,

Anneke

P.S. If you're new to Coastal Collective Co., I'd like to invite you to take The Make It Happen Challenge! It's a FREE 5-Day Video Series I made to help people meet their goals.

>>>>If that sounds like something you're interested in, click HERE.

Let's Connect!

NOW on Periscope! @annekemcconnell

Follow along on Facebook

Follow along on instagram at:

@annekemcconnell

@coastalcollectivestyle

@coastalinteriors


Kitchen Makeover Reveal

Home Blog Posts, Interiors, KitchenAnneke McConnell

Welcome if you are hopping over from the One Room Challenge!  It's been quite the push over these past six weeks to get one room completed, and we decided to tackle our kitchen, which we started this summer, but fizzled out on momentum.  More on that HERE.

We admittedly did not get everything done on our list, but I can say that I am just so happy with how it has turned out!  


Still yet to tackle:

  1. Trim out the kitchen sink window.
  2. Install backsplash (we did not paint since we are doing this).
  3. The lighting and window treatment were delayed, but will be installed as soon as they arrive.


NOT BAD!


Here's a recap so far -

Week 1: The Vision and Before Photos

Week 2: Painting the Cabinets

Week 3: Purging, Storage and Organization Solutions in the Kitchen

Week 4: Herringbone Tile

Week 5: Evaluating Progress


HERE IS THE BEFORE:


This reveal post is a little "lighter" than I'd like it to be since our kiddos were sick since last Wednesday and unfortunately it caught up to me this weekend, just after posting my last blog on Nautical Pendant Lighting. :-/ Boo!

I will be back this week with a full post that includes more photos and complete source details! As reference, the before photos were professional HDR photos taken for our home when it was a vacation rental.  The following were taken by myself, and although I'm improving, I'm thankful for these online courses that have taught me more about photography! 


SOME AFTER PHOTOS:


Navy Blue Velvet Drapes (mine are from Target, but they are sold out) / rug found on eBay


Desk was a craigslist find - $50!


Capiz Shell Table Clock (found at HomeGoods - HERE is a similar version)


Looks like I caught out cute little Maltipoo Copper sleeping on the job! I not so secretly love that his ears match the blanket. Lol (similar here)


And a sneak peek into our little living room off the kitchen.  I just updated the fireplace stone with some paint so details coming soon about that!

BEST armchairs for cuddling with kids, puppies, and a book or magazine!


Isn't this the cutest little wishbone jewelry tray I found for by the kitchen sink?! I got ours at HomeGoods, but found a similar one HERE.


Wishing you all a Happy Holiday Season! Thank you for your encouragement along the way!


xo,

Anneke

Follow along on instagram at:

@coastalcollectiveco

@coastalcollectivestyle

@coastalinteriors

Follow along on Facebook


Kitchen Progress: The Finishing Touches

Home Blog Posts, Kitchen, InteriorsAnneke McConnell

Wow. Only one week left until the full reveals for the One Room Challenge and I am admittedly feeling a "little" bummed, but not stressed.  Things are happening slower than I'd like, but I think that's just life. I have to make a choice to be at peace that I'm keeping my priorities in line.  :-) If you're just joining, you can see the first post and vision HERE.  And here is the before when our house was a vacation rental.


Our lighting will most likely arrive today or tomorrow and I CAN'T WAIT! I feel like it is going to make such a statement while providing the much need function of more light.


We chose the Hinkley Fulton Bronze Island Pendant Light (shown above) from Lamps Plus.  I'm thankful for the opportunity to work with them, and while this is not a sponsored post, they did work with us to provide lighting for our kitchen.  Not just that, but when I was struggling with a few options and dimensions, they were so very helpful in giving advice on the right fit.   They are known for legit great customer service like that as I've heard from others time and time again.

It really was quite the dilemma finding the perfect light because we are dealing with wanting the most number of bulbs/amount of light possible, yet have low 7.5' high ceilings, PLUS the higher full bar height.  We did not want to rewire and work with what we already had. We needed a lighting option that dealt with ALL of those factors, not to mention while adding character AND creating a visually streamlined look.  I can't wait to see this installed and share next week!

Last week I talked about how the husband and I talked about and agreed on herringbone tile.  I am SO happy about this!!! As a family in full-fledged hunting season (deer and elk), he has been gone every weekend for the past month, so this part of the project won't be rushed.  We'll hopefully have the window trimmed out and the tile installed before Thanksgiving though, so I hope you'll come back to see how that makes a difference from next week's reveal (which I think is spectacular in and of itself btw!).

As for the nook next to the kitchen cabinets, it is coming along with my favorite rustic desk and some blue coral artwork.  From drapes to chairs, to the kitchen rug, it feels like it's coming together nicely with the finishing touches.   I'd love to paint or wallpaper that part of the wall where this desk is, but it won't look quite right until the tile is installed with the pencil molding in place (this gives the installed tile that finished edge/look).


Because it was kind of a "down week", I directed some energy into working on lightening our fireplace stone.  Our kitchen, dining and living are all open in one small area, so although I was focusing specifically on the kitchen portion for this challenge, it only makes sense to work on the other areas when I can so they are compliment each other.  It has been a bit tedious, but easy to whitewash the flagstone. See the difference already! This was after the first layer of graywashing the stone before whitewashing it to make it even lighter, and I am painting the dark wood mantle the same white paint as the kitchen.

I love to "shop our home" occasionally and move things around for a different look and feel.  Because we are in the fall/winter season here at our beach house and not walking on the beach as much, I opted to use this rug of ours below (found on eBay!).  Since it is a smaller "scatter" type of rug, it has moved often over the past year, but I think will work perfectly in our kitchen in front of the sink.  I love the kilim look and will put it on top of our memory foam mat to keep things comfortable and not slipping around.  These don't look so pretty by themselves, but they make ALL the difference in comfort, so throwing a pretty rug over the top works great.

Oh! And Copper says HI! ;-)


Thanks again for joining us on our journey!


xo,

Anneke

Follow along on instagram at:

@coastalcollectiveco

@coastalcollectivestyle

@coastalinteriors

Follow along on Facebook