Coastal Collective Co.

kid's bedroom

Coastal Interiors: Mint Bed and Anchor Bedroom

Interiors, Home Blog Posts, BedroomAnneke McConnell

When it comes to a chic and coastal bedroom, today's design from instagram has a great mix of a antique gold shelving, a cool mint poster bed, navy striping and more.  Not to mention a touch of fun with the gold sequined accent pillow.  I paired these items together with a kid's bedroom in mind, but you made it clear on instagram that you love it for ANY age!

I love putting these designs together, but also know that there are other items that really "complete the look" which I've highlighted in another section below the design.

When it comes down to it, go unapologetically with what you love, whether that bold colors or all whites, golds or polished nickel.  To see some of my recent home decor favorites, go HERE.

Β 

COMPLETE THE LOOK

top pick: Capiz Shell Lighting, set of two at 78% off, under $100 total

Also, just a head's up that one of my FAVE stores, One Kings Lane, has some amazing pieces of furniture, home decor, and gift items up for grabs right now. They are a great place to get high quality at a discount for everything from sofas, chairs, loveseats, tufted beds, wood tables, and more.

See below to get an idea of what I'm talking about!! LOVE IT ALL!! And I definitely have my eye on one of those beds - can you guess which one? ;-)

Thanks for stopping by today!

xo,

Anneke

Follow along the day to day on instagram at:

@annekemcconnell

@coastalcollectivestyle

@coastalinteriors

Follow along on Facebook

Thrifted Nightstand Makeover with FAT paint

DIY, Furniture MakeoverAnneke McConnell

First off, thank you for the social love and comments on my last post - family and life balance is a major passion of mine, so making that video was a special labor of love for my kiddos.  They LOVED it!! 

As for today's post, you know I love a good makeover on a piece of furniture - who doesn't right?  For myself, painting is a form of therapy of sorts.  I can have a glass of wine, music playing, and contemplate the things of life while working away....usually in the evenings or while the kiddos are in school (but replace the wine with espresso).

The scene from today's makeover was a little different because I decided to begin the makeover process on Periscope, which was super fun by the way.  I love helping you see and learn how easy it can be to create your own masterpiece.....like in your dining room in very cramped quarters ;-) (That's my ring light by the way, just to help periscope viewers see better!)

In my excitement to get the makeover started, this is the only before photos I have.  Sorry guys, but I think you get the idea.  

IMG_0645.JPG

This is what I call a "nap time makeover". It's a smaller more manageable piece of furniture, and easy to paint and dry quickly, seal, distress, etc.  And yes, for this makeover (and a few others lately), I set up shop in our dining room nook.  This works ok with chalk like paint or milk paint, because it's not messy, takes very few supplies, and dries quickly.  With the colder weather here in Seattle this time of year, I prefer to avoid working in our garage if at all possible. Otherwise I just set up a space heater. 

Today's makeover is featuring The FAT Paint Company, who sent me some of their paint to give a try.  Overall, I give it a thumbs up from the paint to the beeswax polish.  They have a really great color palette to choose from and of course you can create custom colors by mixing 2 or more colors together. I still have a couple more products to try out so I'll keep you posted! 

All I did was clean the nightstand - did I tell you this was only $5 at our local Goodwill thrift store??? Score!  Ok, here was the process:

  1. I removed the existing hardware and cleaned the nightstand.
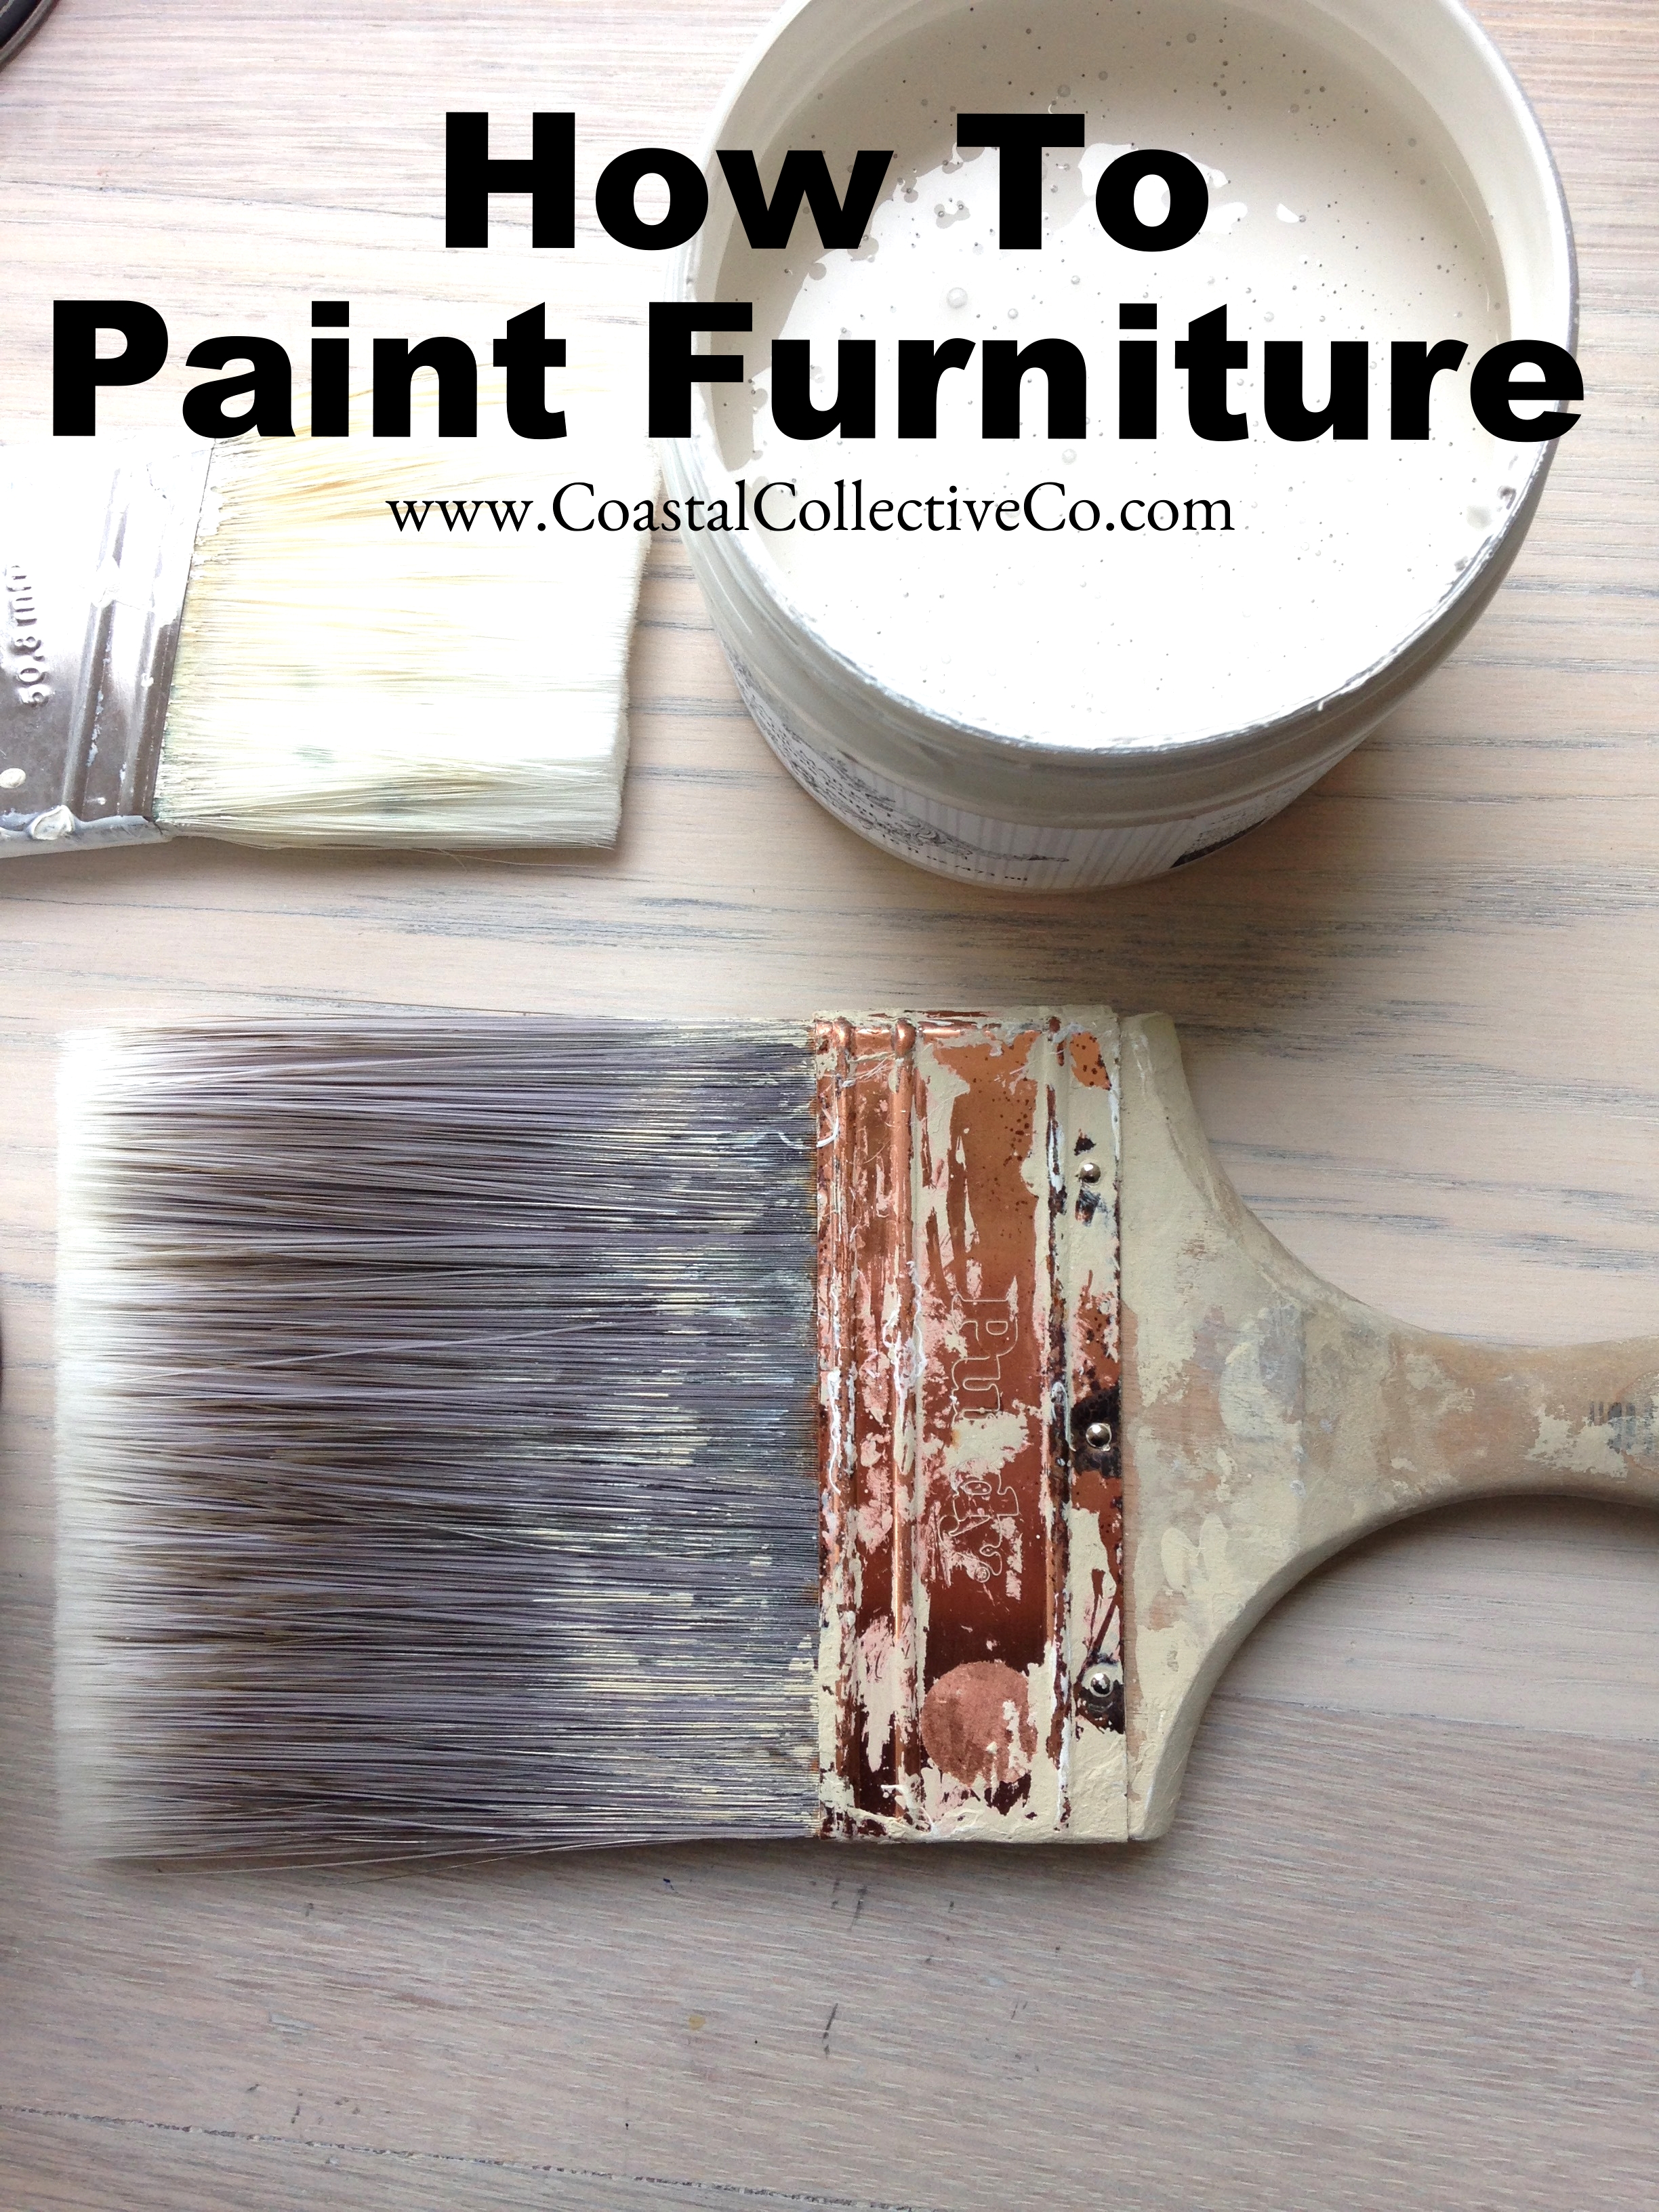
  2. I painted about three layers of FAT Paint Warm White with a brush. I currently use a Purdy or Wooster brush for most projects.

  3. Let the paint dry for at least 30 minutes between coats. I tried to rush it and ran into the paint coming off of the nightstand because it wasn't ready for a 2nd coat. This is easy to fix with some light sanding and blending, but a bit of a pain. So be patient! It's not that long compared to other paint and prep options out there.
  4. I applied two coats of beeswax polish.
  5. I let it cure for a few days.
  6. I installed new hardware and voila! A new nightstand for our kiddo's bedroom.

What do you think??? I hope this helps take the intimidation out of painting furniture. It's fun! And it's probably about the same cost as my Starbucks coffee drink and the time I take to drink it.


On another note, I opened up an online furniture painting class in October and will probably be opening one up again early next year or so.  If learning more about how to paint furniture is of interest to you, click below to stay in the loop and learn my tips, tricks and techniques!

xo,

Anneke

Follow along the day to day on instagram at:

@annekemcconnell

@coastalcollectivestyle

@coastalinteriors

Follow along on Facebook